
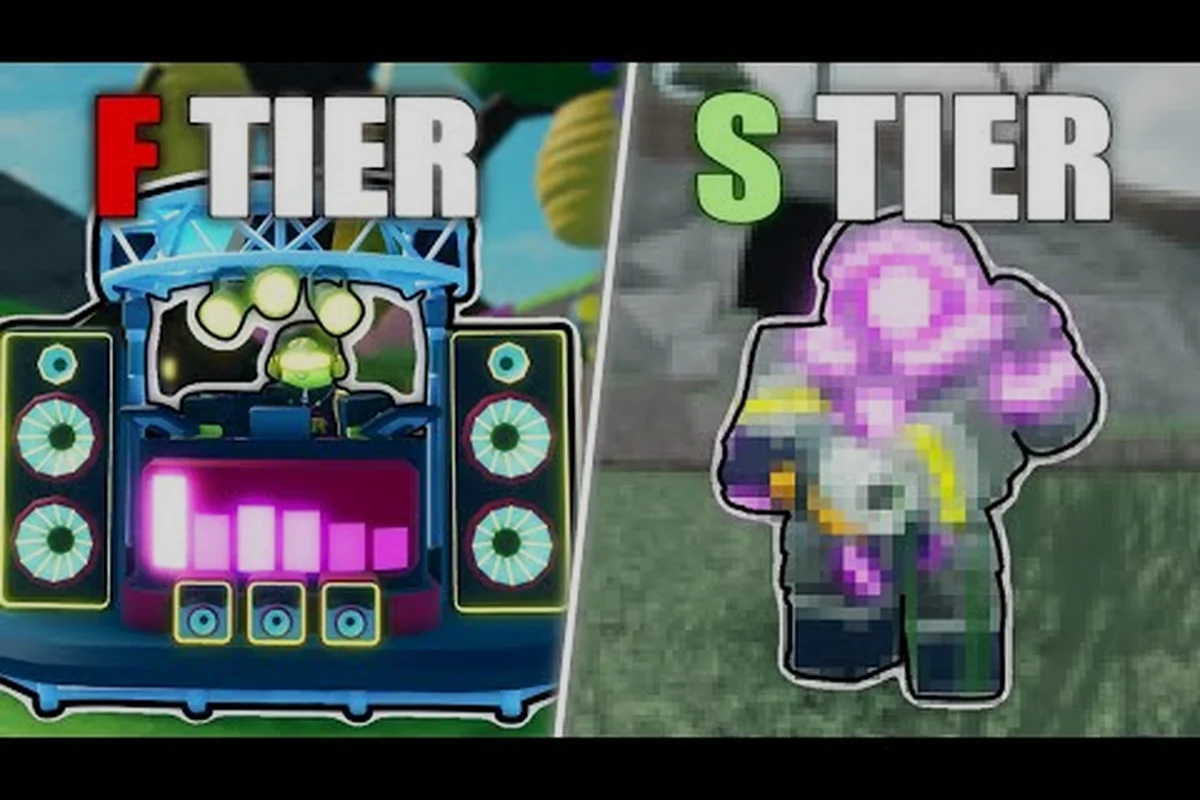
Every player who's spent hard-earned coins on a flashy new unit only to watch it get outpaced by basic towers understands the frustration of misallocated resources. In Retro Tower Defense Roblox, not all towers are created equal, and building around underperforming units can leave your base exposed when enemy waves intensify. This guide identifies the weakest towers currently dragging down player strategies, explains why these units struggle to deliver meaningful impact, and provides practical alternatives that will strengthen your defensive lineup. Whether you're a newcomer trying to establish an efficient roster or a veteran looking to optimize your late-game composition, understanding which towers belong at the bottom of the rankings saves you valuable time and currency. Understanding which towers belong at the bottom of the rankings saves you valuable time and currency, so consult our Retro Tower Defense Roblox tier list for a quick reference on which units to deprioritize.
Why Some Towers Consistently Underperform
Understanding the underlying mechanics that cause certain towers to fall short helps you recognize similar problems in future unit releases. Tower defense games balance units through several key metrics: damage output, attack speed, range coverage, special abilities, and resource efficiency. When any single dimension fails to compensate for another, the tower becomes a liability rather than an asset.
The towers that typically land at the bottom of tier lists share common failure patterns. Some suffer from abysmally low damage-per-second that cannot keep pace with scaling enemy health pools. Others have excellent burst potential but such long cooldowns that they contribute nothing during extended combat phases. A particularly damning weakness occurs when towers lack any crowd control capability whatsoever, leaving them unable to slow grouped enemies that overwhelm your frontline. Resource cost plays a massive role too; a tower that performs adequately at maximum investment but requires three times the gold of comparable options simply cannot justify its deployment.
Community feedback consistently highlights towers with linear scaling problems as particularly weak choices. Units that receive minimal benefit from upgrades waste the resources you pour into them. The most frustrating experiences come from towers that appear promising on paper—their stats look respectable in isolation—but whose mechanics simply don't synergize with Retro Tower Defense Roblox's enemy compositions and map layouts.
Ranking the Weakest Single-Target Towers
Single-target towers form the backbone of most defensive strategies, designed to eliminate high-value enemies before they reach your base. However, several units in this category consistently underdeliver relative to their cost and positioning requirements. For example, early-game single-target towers like the Basic Sniper often struggle against the DPS threshold needed to prevent faster enemies from slipping through, making them a poor investment when faster-firing AOE towers provide better cost-to-kill ratios in the first ten waves.
| Tower Name | Cost | DPS | Range | Primary Weakness |
|---|---|---|---|---|
| Basic Turret | 150 | 12 | Medium | No special abilities, easily replaced |
| Sniper Nest | 400 | 28 | Long | Extremely slow attack speed |
| Rapid Pistol | 200 | 18 | Short | Paper-thin health, dies to Splash |
| Laser Pointer | 350 | 22 | Medium | High cost for mediocre damage |
| Mini Cannon | 300 | 20 | Short | Requires enemy proximity |
The Basic Turret represents the quintessential wasted slot despite its low initial cost. New players often rely on this tower through early waves, but its complete lack of special abilities means it becomes obsolete the moment you unlock any alternative single-target option. The damage output plateaus early, leaving you with a tower that contributes nothing meaningful when enemy health pools reach double digits.
Sniper Nest towers suffer from an identity crisis that cripples their effectiveness. While their extended range sounds appealing for targeting priority enemies, the glacial attack speed means they fire perhaps twice during an entire wave. Between shots, basic melee units slip past entirely, making the Sniper Nest's one advantage essentially meaningless. Players report spending hundreds of matches watching their Sniper Nest twiddle uselessly while swarms overwhelm the base.
The Rapid Pistol unit looks attractive on the stat sheet with its faster-than-average attack rate, but this deceptive metric hides catastrophic vulnerabilities. Its short range forces placement directly into enemy melee zones, where its fragile health pool makes it one of the first casualties when any splash damage appears. The tower dies repeatedly, costing replacement resources while contributing less than more durable alternatives.
The Worst Support Towers in the Game
Support towers in Retro Tower Defense should amplify your team's effectiveness through buffs, healing, or utility effects that synergize with DPS and AOE units. When these units—like weak healers or towers with low uptime on critical buffs—fail at their core purpose, they actively harm your strategy by occupying slots that better options could fill. In late-wave scenarios where enemy saturation peaks, a support tower dealing only 15 DPS while providing minimal utility becomes a liability, effectively wasting the player's limited tower capacity and gold allocation on a unit that contributes less than a baseline Scout tower.
| Support Unit | Cost | Buff Radius | Buff Strength | Major Flaw |
|---|---|---|---|---|
| Signal Booster | 250 | Small | Weak | Barely affects nearby towers |
| Medkit Drone | 300 | Medium | Moderate | Heals too slowly |
| Flag Bearer | 200 | Tiny | Strong | Range almost nonexistent |
| Shield Generator | 450 | Medium | Moderate | Extremely long cooldown |
| Scout Tower | 175 | None | N/A | Provides no combat benefit |
Signal Booster towers exemplify the principle that half-measures accomplish nothing. Its small buff radius means only one or two towers ever benefit from its presence, and the weak magnitude of that buff barely registers in actual combat. You would achieve better results simply by placing another damage tower in the same position, yet players continue purchasing Signal Boosters based on their apparent utility.
The Flag Bearer presents a fascinating case of a unit with strong individual stats that fails spectacularly in practice. Its attack speed buff applies to nearby towers, which sounds powerful, but the nearly nonexistent range means you cannot position it where you need coverage. The Flag Bearer ends up standing alone, buffing nothing, while the towers that would benefit from its presence sit far out of range. This severe positioning restriction makes the Flag Bearer one of the most disappointing units to unlock.
Shield Generator towers suffer from cooldown issues that render their powerful protection meaningless during critical moments. The shield capability exists—towers under its effect absorb significant damage—but the extended cooldown means you might activate the shield just as a wave concludes, leaving it unavailable for the next assault. This timing problem makes the Shield Generator unreliable when you need consistency.
AOE Units That Miss the Mark
Area-of-effect towers should excel at handling grouped enemies, clearing waves efficiently through splash damage. The weakest AOE units—such as the Neon Bazooka and Pixel Mortar—fail to justify their typically higher costs through inadequate damage spread or unreliable targeting. For instance, the Neon Bazooka deals 45 splash damage but only affects a 3-tile radius, making it ineffective against clusters spaced 4+ tiles apart. Its 3-second reload time further compounds the issue, allowing enemies to scatter before a second volley lands.
Frost Cannon towers advertise crowd control capabilities but deliver inconsistent results that betray their premium pricing. The freezing effect technically exists, slowing enemies within its blast radius, but the slow percentage is so minor that enemies maintain nearly full movement speed. Combined with below-average base damage, the Frost Cannon fails both as a control tool and as a damage dealer. Players expecting meaningful slow effects discover too late that they've purchased an expensive tower that barely impacts combat.
Bombardier units suffer from targeting problems that make their explosive potential largely theoretical. The tower prioritizes the nearest enemy rather than the densest cluster, meaning its splash damage frequently detonates against lone stragglers while groups advance unimpeded. When the Bombardier does hit multiple targets, the explosion damage falls off so sharply that secondary targets survive with substantial health remaining. This fundamental targeting flaw makes the Bombardier unreliable regardless of its impressive theoretical maximum damage.
Toxic Spreader towers represent perhaps the most disappointing AOE option in the current meta. The poison effect accumulates damage over time, which sounds excellent for sustained pressure, but the damage-per-tick is so minimal that enemies die to your primary towers before the poison damage becomes relevant. The Toxic Spreader contributes essentially nothing to kills while consuming a valuable tower slot, making it one of the lowest-value investments available.
Crowd Control Units That Disappoint
Effective crowd control can turn impossible waves into manageable challenges by interrupting enemy attacks, stunning groups, or otherwise buying precious seconds for your damage dealers. The weakest crowd control units either apply insufficient effects or have such severe restrictions that their utility never materializes.
Stun Trap units have an appealing premise: place them along enemy paths and watch foes get repeatedly stunned. In execution, the Stun Trap activates so infrequently that most enemies walk through without triggering it at all. The cooldown between activations is excessive, and enemies only get stunned briefly even when the effect does trigger. Meanwhile, the Stun Trap provides zero passive damage contribution, meaning it contributes nothing during the majority of any given wave.
Taunt Tower seems designed to draw enemy attention away from vulnerable units, but the implementation creates more problems than it solves. Enemies do redirect toward the Taunt Tower, but they often path around it rather than attacking it directly, negating the intended effect. Even when enemies do engage the tower, they resume their original targets the moment the taunt effect expires. The complex positioning requirements and unreliable behavior make the Taunt Tower a tower you'll regret building.
Slowing Field generators apply a consistent movement reduction to all enemies in their radius, which sounds like excellent value. The problem lies in the field's health pool: enemies attack the generator alongside whatever else they're doing, and it falls apart under sustained pressure. By the time you've invested enough to keep the Slowing Field operational, you could have simply built additional damage that eliminates threats faster than any slow effect would matter.
Better Alternatives to Build Instead
Understanding which towers to avoid matters most when you know what to build instead. In Retro Tower Defense, towers like the Wooden Arrow and Basic Cannon suffer from limited range (12-15 studs) and slow attack speeds (1.2-1.5 attacks per second), making them ineffective against fast enemy waves. The following alternatives—the Plasma Sniper with 45-studd range and critical hit mechanics, or the Frost Tower providing 40% enemy slowdown—offer substantially better value through superior damage-per-second ratios and crowd control. These towers should form the core of any competitive defensive strategy because they scale efficiently into late-game rounds where weak towers become dead weight.
| Recommended Tower | Category | Cost | DPS | Special Strength |
|---|---|---|---|---|
| Multi-Shot Archer | Single Target | 275 | 24 | Attacks two enemies simultaneously |
| Heavy Gunner | Single Target | 350 | 35 | Armor piercing damage |
| Healing Station | Support | 400 | 0 | Sustained area healing |
| Flame Thrower | AOE | 380 | 30 | Continuous damage over range |
| Cryo Blaster | Crowd Control | 420 | 18 | Powerful 40% slow effect |
The Multi-Shot Archer outperforms every basic single-target tower by hitting multiple enemies per attack cycle. This efficiency multiplier means each placement generates double the effective damage, making the investment worthwhile despite the slightly higher cost. Players who transition from Basic Turrets to Multi-Shot Archers report immediate improvements in wave clear speed.
Heavy Gunner towers solve the armor piercing problem that plagues many damage options against late-game enemies. While other towers bounce harmlessly off armored targets, the Heavy Gunner delivers full damage regardless of enemy defensive stats. This reliability becomes invaluable during boss encounters and armored enemy waves.
Healing Station provides the sustained area restoration that makes your expensive damage towers survivable. Rather than watching your high-damage units get picked off by stray enemies, the Healing Station keeps them operational through extended engagements. The utility more than justifies the investment when you calculate the damage prevented rather than the gold spent.
Strategic Tips for Avoiding Weak Tower Traps
Building an effective roster requires more than simply avoiding bad units; you need active strategies for evaluating new towers and adapting to meta shifts. For example, when the meta shifts toward heavy swarm waves, prioritizing a strong AOE unit like the Mortar over a single-target tower becomes critical. Conversely, during boss-heavy events, shifting investment toward single-target DPS towers such as the Sniper ensures you're not caught underpowered. Regularly reviewing patch notes and community tier lists helps you anticipate these shifts before they cost you runs.
Always assess upgrade scaling potential before committing resources to any tower. A unit that looks adequate at base stats but improves dramatically with investment often outperforms immediately powerful towers that plateau quickly. Check community tier lists and guide discussions to understand which towers scale best into late-game scenarios.
Consider synergy potential when evaluating units in isolation. A tower that seems mediocre might excel when paired with complementary units, while a seemingly powerful tower might duplicate your existing lineup rather than filling gaps. Identify your roster's weaknesses before spending currency on new units.
Test towers in endless mode rather than story missions when possible. Early game content doesn't challenge towers sufficiently to reveal their true capabilities. Endless mode's scaling difficulty exposes weaknesses that normal waves hide, giving you accurate performance data before investing heavily.
Monitor patch notes and meta shifts religiously. Tower balance changes frequently in competitive games, meaning yesterday's weakest tower might receive buffs tomorrow. Stay informed through community channels to capitalize on rebalanced units before everyone else notices the changes. Track which retro tower defense Roblox tier lists spike certain towers after major patches—players who caught the Frost Mage's +15% slow buff in Update 2.3 dominated early leaderboards before the meta shifted again. Bookmark community tier list threads and patch note summaries on sites like RoTracker; they flag subtle balance tweaks that official notes sometimes bury under major feature announcements. By establishing a weekly monitoring routine for meta shifts, you gain a 24-48 hour edge over casual players who only react after content creators post their tier reviews.
Frequently Asked Questions
Which tower should I never upgrade in Retro Tower Defense Roblox?
Basic Turrets should never receive significant investment because their damage ceiling is fundamentally capped by their basic design. The resources spent upgrading them would build stronger alternatives that scale properly. Community consensus strongly advises redirecting those upgrade funds toward Multi-Shot Archers or Heavy Gunners instead.
Are there any situations where weak towers become useful?
Some bottom-tier towers occasionally appear in specialized challenge runs or achievement hunts that require using every unit type. For normal gameplay, however, avoiding these towers entirely remains the correct strategic choice. They consume resources that better options could use, and the slight variety they add doesn't compensate for the performance loss.
How do I earn coins quickly to afford better towers?
Focus on completing daily challenges, watching reward videos when available, and maximizing wave clear efficiency in endless mode. Higher wave completions generate exponentially better coin rewards. Playing efficiently matters more than playing extensively; a single 100-wave run often yields more currency than ten 20-wave runs.
Should I remove towers I've already built that are on this weakest list?
Yes, replacing underperforming towers with better alternatives improves your defensive capability significantly. The sooner you make the transition, the sooner you benefit from stronger units. Consider the replacement cost an investment rather than a loss—you're cutting losses on resources already spent on ineffective choices.
What tower category should I prioritize building first?
Damage-dealing towers should form your initial roster foundation, followed by support units that keep your damage dealers alive. Crowd control towers become valuable once you have reliable damage output to capitalize on any slows or stuns. AOE units shine during late-game waves with clustered enemy compositions, making them excellent choices for the final slots in an established roster.